Polymer Clay Dog Tags
Crafting is a wonderful way to bond with your children and create lasting memories. This blog post guides you through a fun and creative activity: making polymer clay dog tags. These personalised accessories are a delightful craft project and a unique and stylish way for kids to express themselves. So, gather your supplies, unleash your creativity, and embark on a crafting adventure resulting in custom-made dog tags your kids can proudly wear.
Materials Needed
- Polymer clay (assorted colours)
- Rolling pin
- Baking sheet and oven (for baking the clay)
- Chain or cord for the necklace
- A clay cutting tool or knife
- Pen or toothpick to make markings (and hole)
- Oven

Step-by-Step Guide
Step 1: Prepare
Lay down some parchment paper to prevent the clay from sticking to the surface.
Step 2: Roll Out the Clay
Take a portion of polymer clay and knead it until it’s soft and pliable. Flatten the clay to a thickness of about 4mm using a rolling pin.
Step 3: Cut Out the Dog Tags
Use playdough/clay cutters or a knife to cut the clay into a dog tag. Gently remove the excess clay.
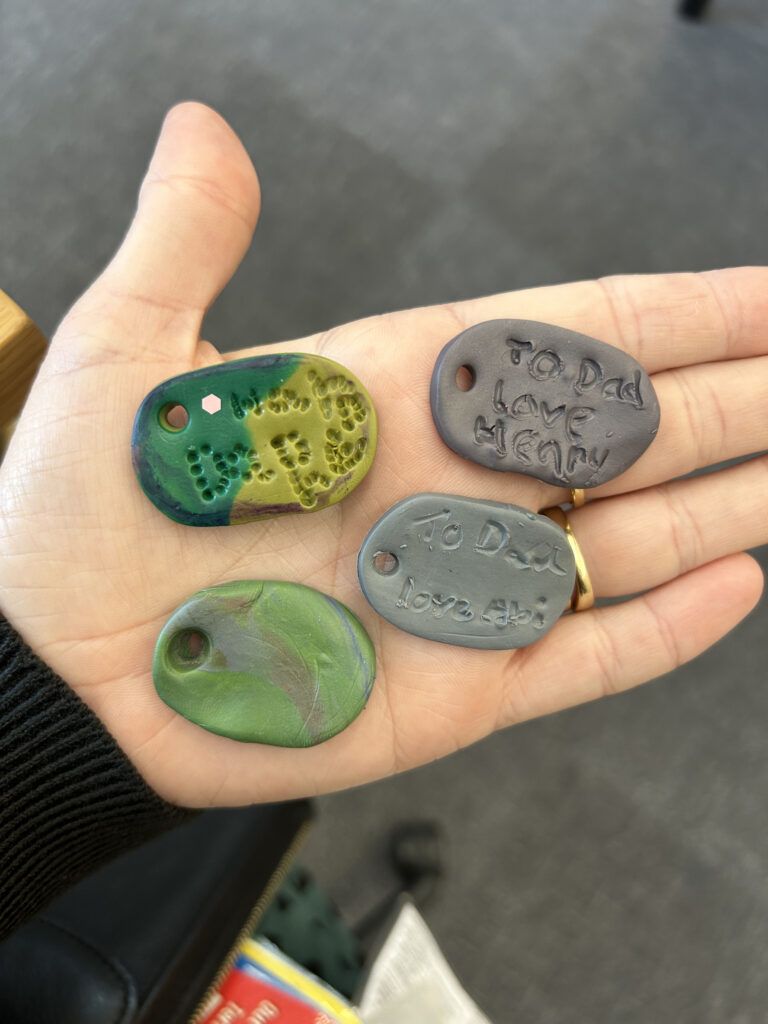
Step 4: Personalize the Tags
Now is the time to add a personal touch to the dog tags. You can use a pen to engrave initials or meaningful words onto the clay. Alternatively, you can use markers after baking to add a personal message.
Step 5: Create Holes
Carefully create a hole at the top of each dog tag using a toothpick or skewer. Make sure the hole is large enough to fit a jump ring through.
Step 6: Bake the Clay
Follow the manufacturer’s instructions for baking the polymer clay. Place the dog tags on a baking sheet and bake them in the oven at the recommended temperature and duration.
Step 7: Assemble the Necklace
Once the dog tags have cooled, attach a ribbon or a chain to create the necklace.
Step 8: Wear and Share
Congratulations, your tags are ready to be worn and shared!